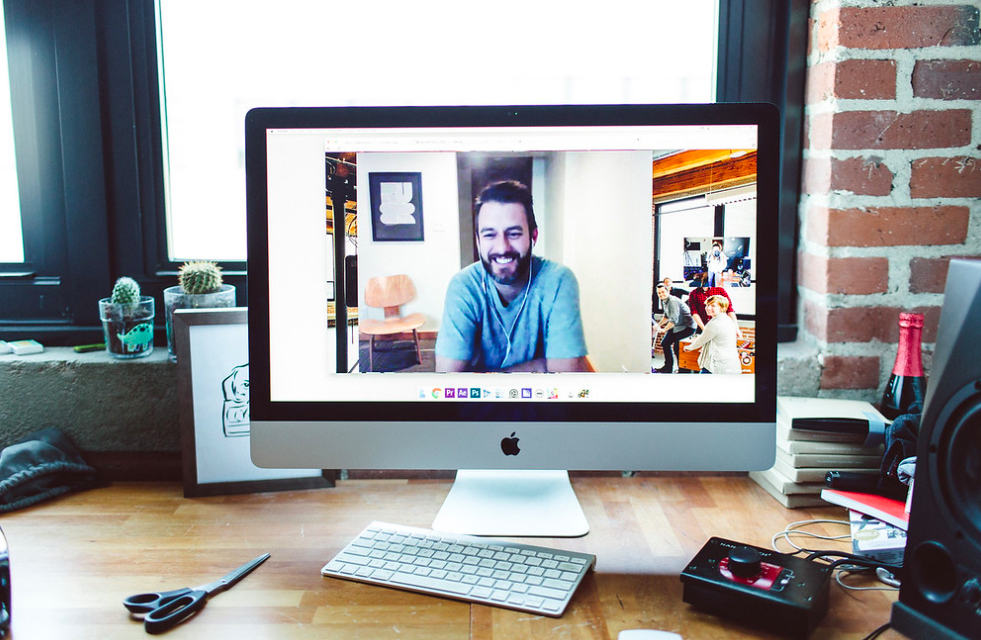
Shooting Your Laptop Screen
Screencasts can be an easy and efficient way to show off software. But they can feel boring and dry. We’ve all seen slow-paced screen captures with droll voiceovers. To break the mold, we started to film Wistia product shots on a real live laptop.
Filming your laptop instead of using a screencast lends authenticity and a touch of personality to your video. For us, it presents a more real-life look at the Wistia product, and we just think it looks better. Read on to learn about the process and tools we use to shoot videos of laptop screens, and how you can get started!
The process
You could just ask a friend to step in and move the mouse and type on the keyboard, but this invariably leads to the laptop shaking and creates undue pressure to type each word perfectly. To avoid this, we just loop a screencast on the laptop screen as we shoot. This workflow makes it very easy to work by yourself, rather than bothering someone else to drive the computer!
We start by recording a screencast. We use Screenflow because it’s a great editing program in addition to a great screencasting tool. We record each screencast segment, remove the boring parts, and then stitch together all of the shots we want in our final video.
Once the screencast is timed just right, we export it to a lossless QuickTime file. Then, with the file opened up in QuickTime, we loop the playback (View > Loop) and take it full screen (View > Enter Full Screen). Now, we’re ready to shoot the laptop from multiple angles!
Shooting a successful screencast
- Hide your bookmarks and close all of your open tabs. If you’re on a Mac, hit the “Do Not Disturb” button to make sure your screencast isn’t interrupted by embarrassing text messages from your mom.
- Go fullscreen with the app or browser. Fit as much of the product within the screen as you can. Consider enlarging the text or changing the screen resolution to increase legibility on wider shots.
- Combine your screencast segments. Screenflow is an awesome program for making simple edits like this. If you have a few screen recordings, combine them all in one timeline, trim the dead space, then export everything out to one long QuickTime file.
Prepping your laptop for the shoot
- Make sure to clean your screen. It might look clean to the eye, but the camera is going to pick up greasy fingerprints or dust particles you didn’t even know were there.
- Build your scene. Find a desk and place some natural elements around your laptop: for example, a coffee mug, notepad, or headphones. But don’t overdo it! The goal here is to build a natural environment with a touch of personality.
- Watch out for moiré, which is just a fancy word for “your shot is ruined.” Different cameras and lenses have different moiré characteristics. Try moving closer or further away from the screen to get rid of it. If you still can’t hide the moiré, put the lens slightly out of focus and sharpen the video in post-production.
- Expose the camera for the scene first, then adjust the brightness on your laptop to match it. We usually go a couple clicks down from the brightest setting on our Mac laptops.
- Watch out for reflections on the screen. Tilt your screen forward or backward a bit until the reflection is gone. If you’re feeling ambitious, you can kill reflections almost altogether by placing a whiteboard directly behind the camera!
- Consider using a macro lens! It’ll be your best friend for capturing those little software details. Try panning side to side or up and down to create some motion in your shot.
- Record some extra footage just in case. Wait for the loop to come around a second time. Find different angles. Record a wide, medium, and close shot of the whole loop to give you options when you’re editing.
Wrap-up
Once you have a couple different angles locked down, you’re ready for the edit. Now get out there and shoot your laptop! Care to see the tips in action? Here’s the final video that we made with the footage!


